


A knee brace can only do its job if it sits in the right place. Put it on too loosely and it slides down your leg; strap it too tightly and it pinches, rubs or leaves your lower leg feeling numb. The good news is that getting the fit right takes less than a minute once you know what to look for.
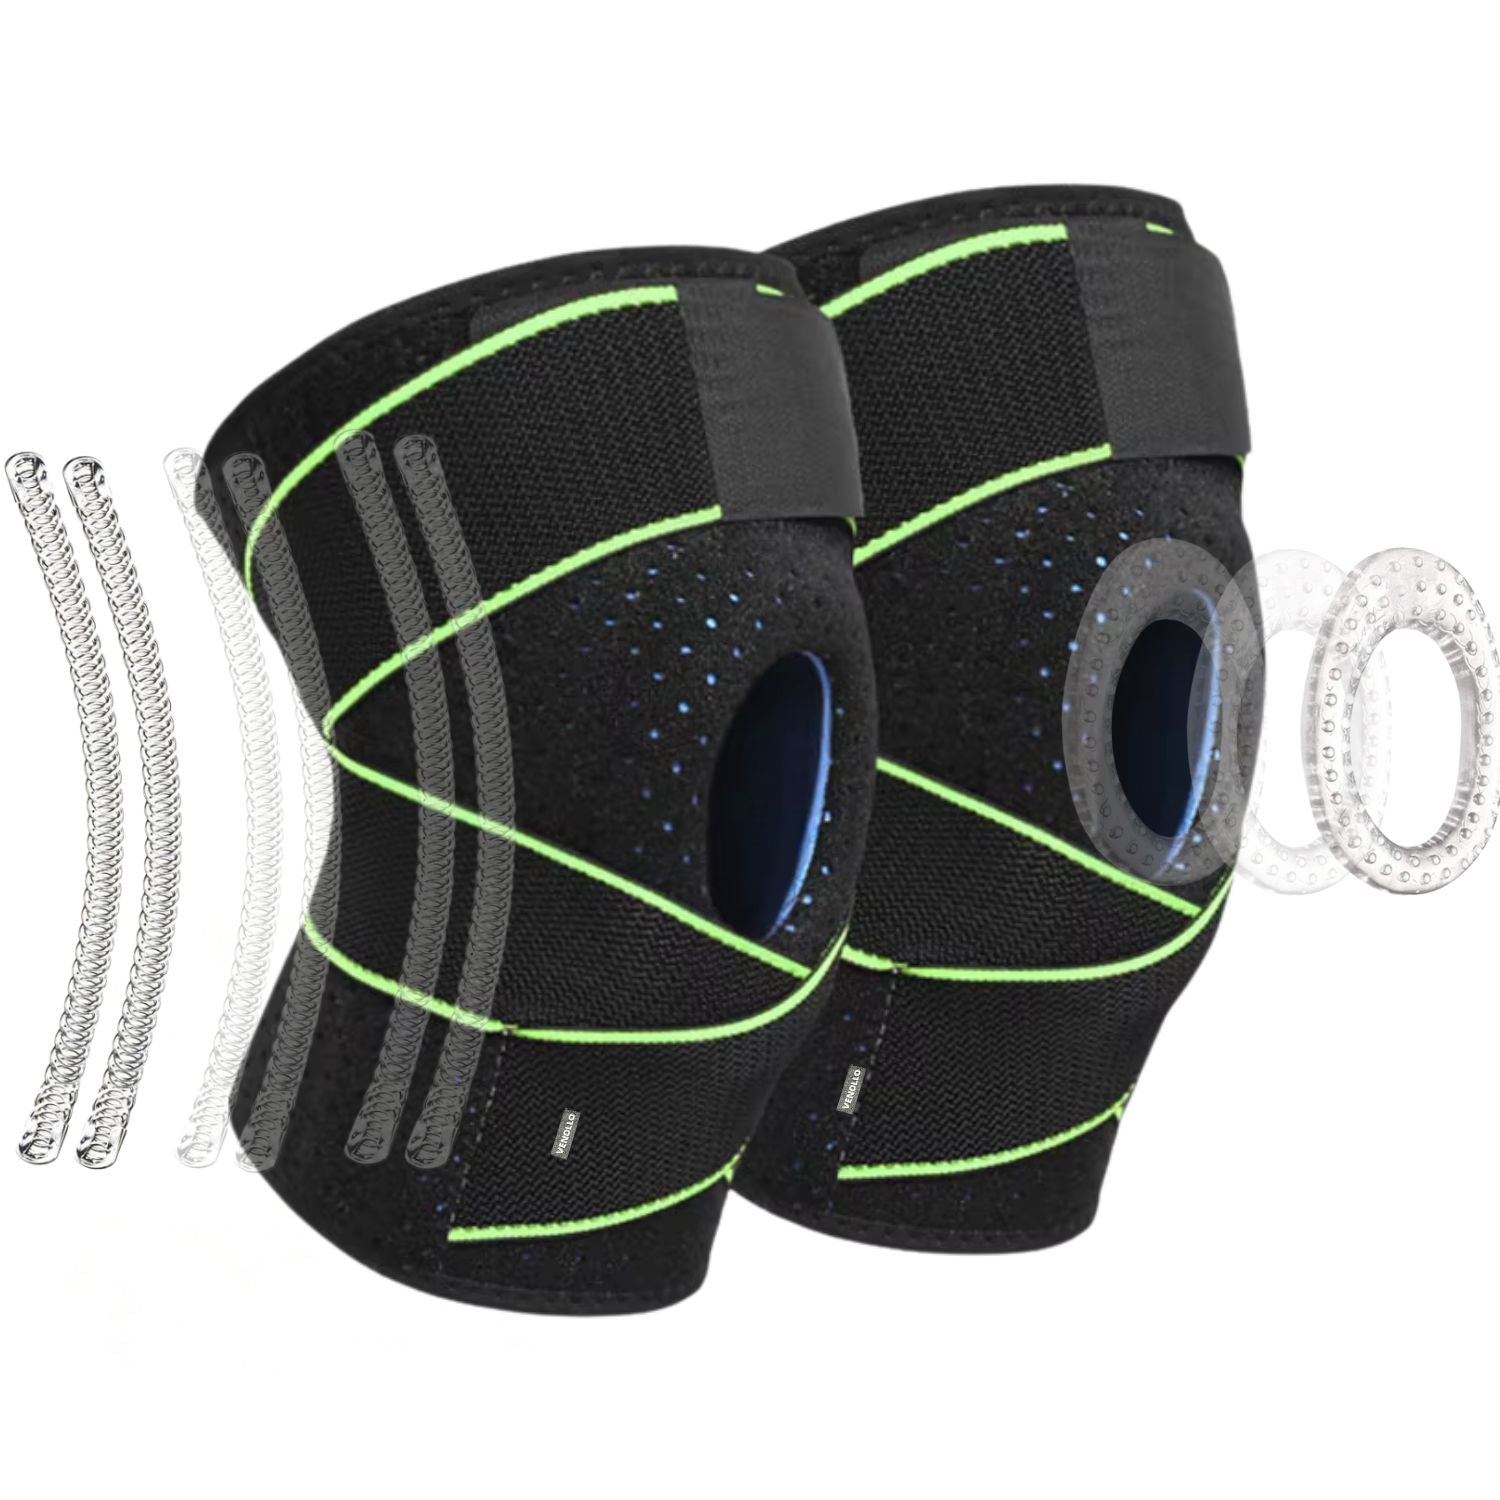
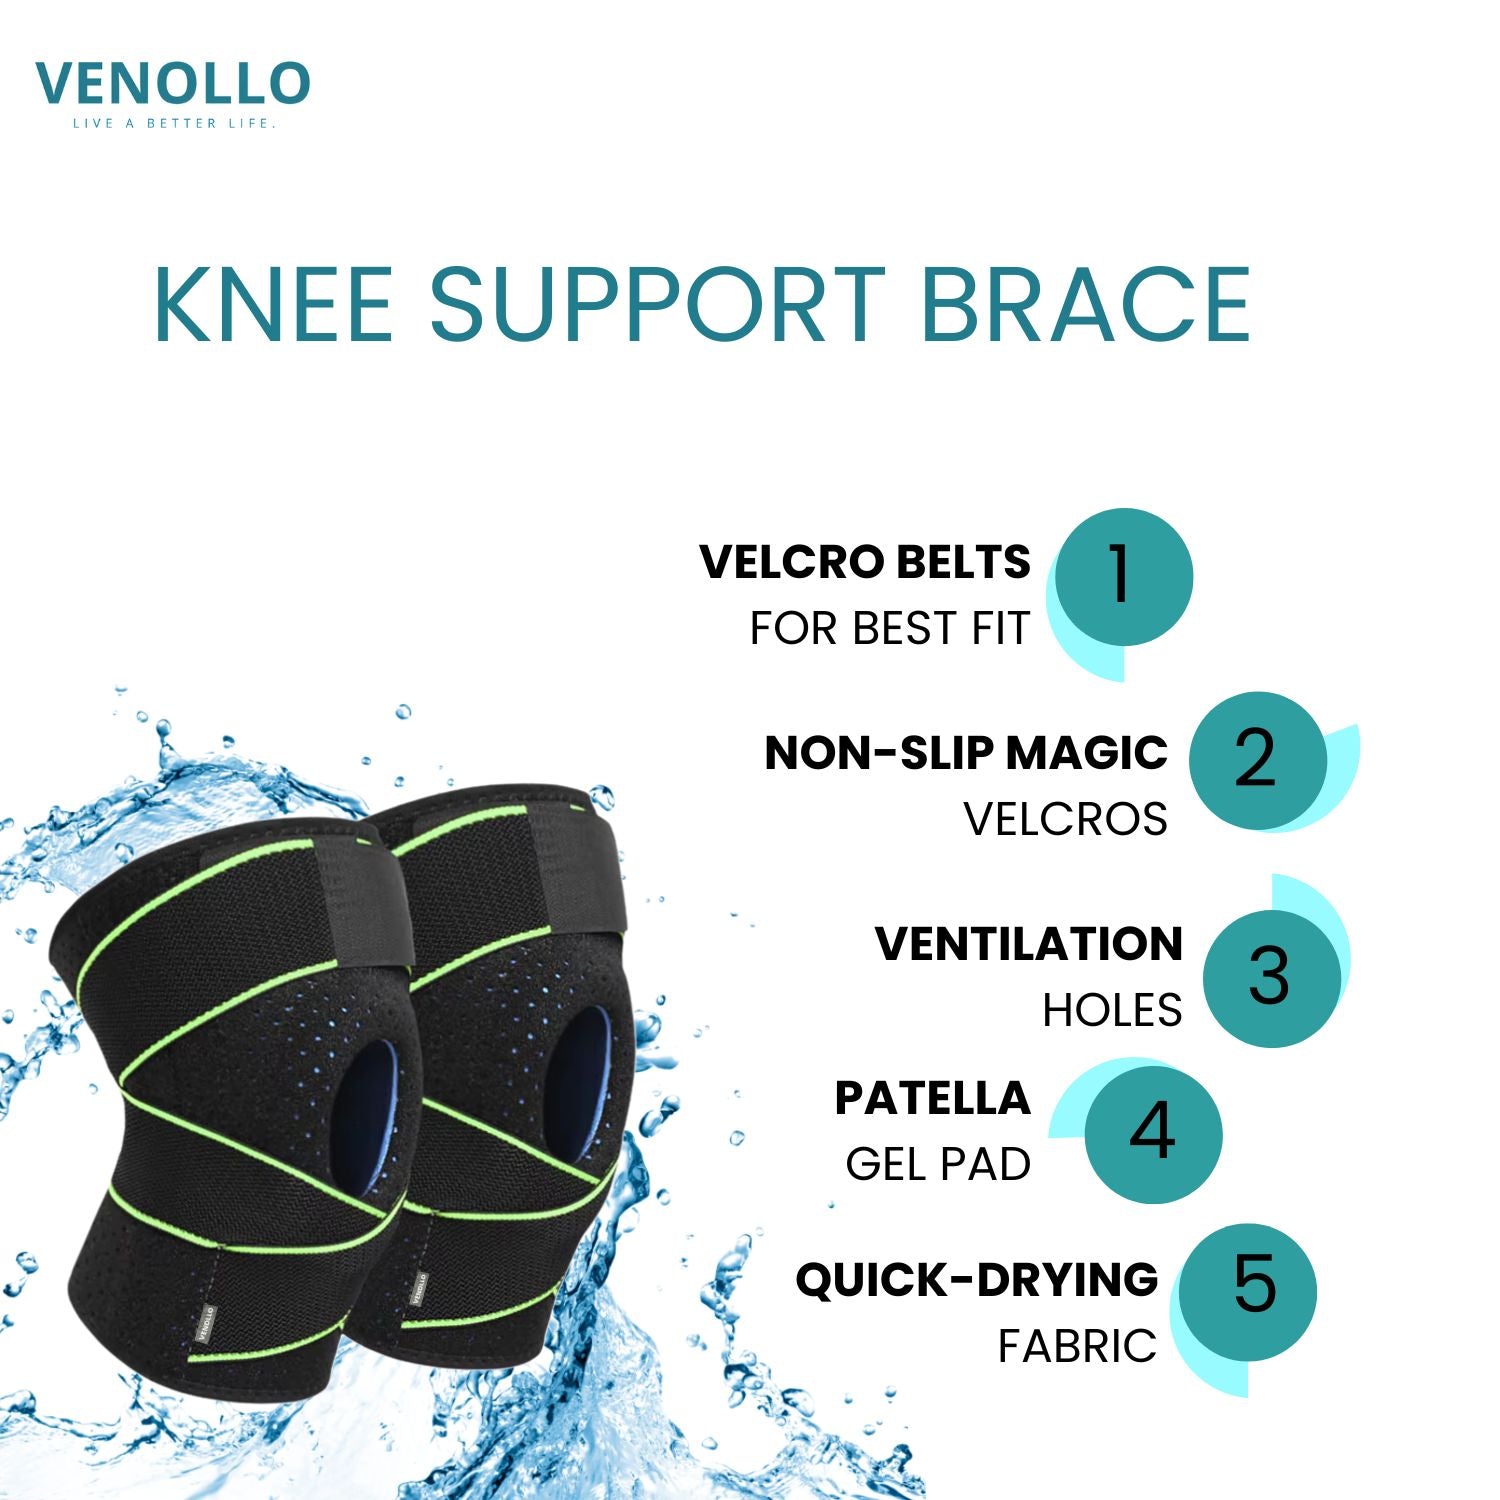
This guide walks through how to put on a knee brace step by step, how tight it should feel, and how to fix the most common fitting problems. The steps are written for adjustable, strap-style braces with an open kneecap area, such as the Venollo Knee Brace with Side Stabilisers & Patella Gel Pads, but most of the principles apply to other knee supports too.
Before you start
- Check your skin is clean and dry. Lotion, sweat or water can make a brace slip and may irritate the skin under it.
- Wear it directly on the skin or over thin clothing. Thick or baggy trousers bunch up under the straps and stop the brace sitting flat.
- Open all the straps fully. Starting with every strap undone makes it much easier to centre the brace before you tighten anything.
- Read the instructions that came with your brace. Different designs fasten in different orders, so the manufacturer’s guidance always comes first.
How to put on a knee brace: step by step
1. Sit down with your knee slightly bent
Sitting on a chair or the edge of a bed with your knee bent at a slight angle helps the brace settle into the shape your knee takes when you move. Fitting it with a completely straight leg often makes it feel tight behind the knee once you start walking.
2. Centre the opening or gel ring around your kneecap
If your brace has an open patella design or a cushioned gel ring, line it up so your kneecap sits in the middle of the opening. This is the most important reference point: if the ring is off-centre, the rest of the brace will be too.
3. Line up the side stabilisers
Braces with side stabilisers have flexible supports running down each side of the knee. They should sit evenly along the inner and outer sides of the joint, not twisted towards the front or back. A quick look down at your leg is usually enough to check.
4. Fasten the lower strap, then the upper strap
Fasten the strap below the knee first. This anchors the brace so it does not slide as you secure the rest. Then fasten the strap above the knee. Pull each one evenly rather than yanking one side, so the brace stays centred.
5. Do the finger check
You should be able to slide a finger under each strap. If you cannot, loosen it slightly. If there is lots of room and the brace moves when you tug it, tighten a little.
6. Stand up and move
Walk a few steps, bend your knee and do a gentle half-squat. The brace should stay in place, the gel ring should remain around your kneecap and nothing should dig into the back of your knee. Readjust if anything has shifted.
How tight should a knee brace be?
A knee brace should feel snug and secure, as if it is gently hugging the joint. It should not feel painful. Loosen the straps straight away if you notice any of the following:
- Tingling, pins and needles or numbness in your lower leg or foot
- Your foot or calf changing colour or feeling cold
- Deep red marks or skin pinching around the straps
- Throbbing or increased discomfort while wearing it
Our article on wearing a knee brace comfortably for longer periods has more tips on avoiding pressure and skin irritation.
Common fitting problems and how to fix them
The brace keeps slipping down
Slipping usually means the lower strap is too loose or the brace was not centred to begin with. Take it off, start again with the knee slightly bent, and anchor the lower strap first. Skin moisture also plays a part, so make sure your leg is dry. Some braces, including Venollo’s, include anti-slip silicone strips on the inside to help them stay put.
It digs in behind the knee
This often happens when a brace is fitted with a straight leg or pulled too far up. Refit it with your knee bent and check the straps are not overtightened.
The gel ring has moved off the kneecap
Unfasten both straps, recentre the ring and retighten evenly. Pulling harder on one side than the other can twist the brace as you move.
It feels hot or sweaty
Some warmth is normal with any brace. Choose breathable materials, give your skin regular breaks and keep the brace clean. See our guide on how to wash a knee brace for care tips.
Do you need to measure for a one-size brace?
Many braces come in set sizes and need a measurement around the thigh or knee. Adjustable one-size braces use straps instead, so you tighten them to fit. The Venollo knee brace is designed to fit a wide range of leg sizes in this way. If you are unsure whether it will suit you, email office@venollo.com with your knee measurement and the team can help.
Frequently asked questions
Which way round does a knee brace go?
Most braces have an obvious top and bottom: the opening or gel ring sits over the kneecap and the straps wrap around from the back. Check for any labels or markings and follow the instructions supplied with your brace.
Should I put a knee brace on standing or sitting?
Sitting with the knee slightly bent is usually easiest, because you can see the kneecap clearly and the brace settles into a natural, slightly flexed position.
Can I wear a knee brace over leggings?
You can wear it over thin, close-fitting fabric, but it may slip more easily than on bare skin. Avoid wearing it over thick or loose clothing.
What if my knee brace still feels wrong after adjusting it?
Take it off and stop using it if it causes pain, numbness or skin problems. If you have a knee injury or ongoing symptoms, a GP or physiotherapist can advise whether a brace is suitable for you and how it should be worn.
Find a knee brace that is easy to fit
A good fit makes a brace more comfortable to wear and easier to use every day. Explore the Venollo knee supports and braces range, or take a closer look at the Venollo Knee Brace with Side Stabilisers & Patella Gel Pads, which uses adjustable straps for a personalised fit.
This article is general information and is not a substitute for medical advice. If you have a knee injury or persistent pain, please speak to a qualified healthcare professional.


